Wednesday, July 11, 2012

It's been forever, I know

I went a bit quiet there for awhile, didn't I? My apologies, I was sick for the past month and life got a bit out of control. But I'm trying to be a bit more active on here and other places.

I have a big month ahead! August 4th is the next Melbourne Doll Market, so I'm busily sewing away trying to get all the stock I want made in time. I already work 6-7 days a week, but the month before a market it becomes 7 days a week of 12-14 hour days instead of 8-10 hour days, so I go a bit insane! XD

I'm also having a Christmas in July sale this month! As of midnight tonight (Australian EST) I will be running a free shipping event until July 18. So if there was something you were looking at before, this week is the time to get it!

And because a completely text based post is boring, have some pics of some YoSD outfits I'm working on at the moment.


I fell madly in love with this fabric when I saw it and just had to have it. So now I'm working on these Unicorn Princess Party Dresses for YoSD. They're going to be so colourful and over the top.


Wednesday, May 16, 2012

Level Up Your Doll Sewing - Gathering

I have been busy and neglecting this blog, I must apologise.

Not a real post from me, but rather a plug for a blog I stumbled upon today. I often see dresses and skirts made for dolls where they haven't allocated enough fabric to get right right fullness for their ruffles or gathered skirt. This post on ruffles by see kate sew is a really good starter on working out ratios, and how cutting your fabric in different ways creates different effects.

So enjoy! And don't forget to comment with any questions or requests for sewing posts you'd like to see from me! :)

Monday, April 09, 2012

Inspiration and Plans

The other week I made a wig for my new doll Nacho:


 It had been the first thing I had made for one of my dolls, and not related to my shop at all in a long time. And it made me want to do more things for my dolls that were just for them, and not a prototype for outfits for the store. So today I went back to some ideas I've been wanting to work on for ages, and did a bit of material sourcing.
While I naturally like to do my own designs for my store, there are pre existing outfits that I love and have always wanted to replicate for my dolls.

First up is Lucy's wedding gown. She's meant to marry Nacho, who is King of the Forest, so she needs something appropriate for the occasion:
I have been collecting materials to recreate this McQueen gown for her for years now. It's not easy finding the right scale of lace pattern for hte bodice and sleeves! I have that now, but last year I got a hold of Savage Beauty, the book that accompanied the MET exhibition, and learned that the ruffles were made differently to how I had thought, so I need to buy more fabric for that! I have the Soom Amber clear antlers, and I won't be doing the bubble of lace around her head, so once I get more fabric for the ruffles, I should finally be able to start this!

Another gown I've been wanting to recreate for awhile, is this stunning 50s Balmain gown for Ophelia:
Cause who else in my crew but a Queen would wear vintage couture? ;)
I ordered the ostritch feathers today, and found some suppliers of really tiny swarovski hotfix gems, and small sequins. Just need to save up for them and the silk organza.

And then there's the dress which Brendon thinks I'll kill my hands on, and he could be right:
A gown once worn by Russian Empress Maria Feodorvna, which I desperately want to recreate for my Anastazja. Searching for tiny pearls today I stumbled upon a store having a sale on czech glass ones, so I bought over 6000 pearls in the four different sizes and shapes on this gown. I'm not expecting to make this one any time soon, as I'll need to source the right silk jacquard and lace, but I'm really looking forward to starting on it. 

There's others I'm sure I've forgotten, and some which have sat half finished on my work table for awhile, but these are the three that have been consuming my thoughts of late. 


Tuesday, April 03, 2012

Level Up Your Doll Sewing! Pattern Matching and Why I Think It's Important

 Welcome to the second installment of my posts on doll sewing! Instead of specific "how to sew X" tutorials, I have decided to focus more on little tips and tricks to bring your sewing to the next level. Some posts will be more complicated than others, but I do want to try and make each post as easily understandable as possible to most people.

Making tutorials is a very new process for me, so I hope this is clear. If it isn't, do let me know!

Pattern Matching and Why I Think It’s Important


Clothing made from patterned fabric can make an otherwise plain outfit look bold or interesting, but how you use that fabric can determine just how good it looks.
In my last post I briefly touched on the importance of scale in doll clothing, and how the wrong size print can stop a garment from looking realistic. Today I’m going to talk about the importance of balance, specifically in regards to fabric patterns.
Patterned fabric will catch a person’s eye, and naturally we want them to like what they see. Like the composition of a picture, a garment needs to be balanced in order for it to be harmonious. If it isn’t, people may feel something isn’t quite right, even if they can’t put their finger on it. Matching the pattern on your fabric can help with this.

I will be using plaid fabric as an example in this post, as the vertical and horizontal lines help illustrate this balance.


1. Centre front = central focus
Imagine a vertical line down the centre of your body, splitting your body into left and right sides. This is known in sewing as your centre front (and of course the same point on your back is your centre back). This is generally your central point of focus, and you want your fabric to be the most perfectly aligned at this point.
This old Bibian Blue corset is a good example of poor pattern matching at the centre front:

See how one side is slightly lower than the other? This results in the corset having an awkward, slightly sloping look. With geometric patterns like this you need to be level horizontally, or make it obviously diagonal.
With the dress I have made here, I have used the line for my centre front point, as it is the centre of the pattern. This way it will be easier to achieve symmetry and balance cutting out other pieces. The waistband is curved and I knew I wasn’t going to be able to match it to the bodice, so I cut it so that the pattern is obviously diagonal as a contrast.


2. Matching patterns for bodices/dresses
Now if we’re matching patterns on pattern pieces which have a flat edge, it’s naturally a lot easier than something with curves. So how do you get your curved pieces to match up?

Firstly, you are going to have to cut each piece out separately, you can’t fold your fabric in half and cut two pieces. Why? Because the patterns rarely match. You will have much more control if you cut each piece out separately.
Once you have cut out your centre front piece/s, lay out the next piece. Make sure that any horizontal lines match up, especially at the top and bottom of the piece, the bust and the waist. You will use these lines to match your pattern up when sewing the pieces together.

The piece on the right is my centre front piece. The bottom of the piece is on a thin black line, so I have placed my side front piece on the same line. The little lines on my pattern at the curve of the bust is where the bust point is. I have just slightly cut into my pattern so that I know where the bust point is. Making a little cut into the fabric at the bust, waist and hip points can help with pattern matching if you have no horizontal lines on your fabric to match up (just be sure to not cut further in than the seam allowance!)
My cut is in between the thin black line and the thicker patterned line, so I line my side front pattern up the same. Once you have lined them up, cut them out. Then you do the same on the other side, making sure that it mirrors the piece you just cut out.
Then you do the same thing with each piece, lining it up against the connecting piece you just cut out, until you have all your pieces:


Check that everything balances out – your horizontal lines are staying horizontal; and your pieces mirror each other.

3. Matching patterns for pants.
Pattern matching works essentially the same for pants, except that this time the most visible point of matching is the side seam.
Lay your patterns out so that the side seams match, again using any horizontal lines as balance for the hem, crotch and hip lines.


If you have pockets at the front, try and match up the pocket pieces with the front of the pants:


Once it is sewn, the patterns on the pants and pocket should match up like so:


4. Matching as you sew
As you are sewing, make sure you’re matching up any horizontal points. It is usually best to pin those main points together like so:


If they matched up correctly, they should look like this once sewn:

And that's it! I hope that this has been helpful to people! By all means let me know if anything doesn't make sense, or if my tutorials need more pictures to help make things clearer.

Sunday, March 11, 2012

Quickly popping in

Thanks to everyone who gave feedback on the last post, I'm glad you liked it! I will be posting more in the future, I'm just super busy at the moment.
The Melbourne Doll Market is less than two weeks away, and as usual I've planned far more than I can actually make, so it's a non stop sewing fest here. XD
I'll be back soon with some proper posts at the end of the month. :)

Sunday, February 26, 2012

Essential Doll Sewing Tips

Okay, so people said they wanted my rambles about sewing, so here goes. This is just a bunch of things that I feel are worth knowing. I'm sure there's more that I've forgotten, but this will do for now. Of course this is all just my opinion - different people have different techqniques and different things they consider more important.

With that said, enjoy! I hope this is of some use.

Sewing Basics
• Get your machine’s manual and learn how it works. Learn especially how to take it apart, clean it and oil it. Ideally you want to clean your machine after every job, and oil it about every 6 months. I clean mine about twice a week, and oil it every second week because I use it so much. If you have an old machine, there are plenty of pdf versions of their manuals online.

• Even when you’ve been sewing for years (over 20 years in my case), a good reference book can be a godsend. I use Vogue/Butterick’s “Step by Step Sewing Techniques”, because it has nice clear pictures and instructions, and is well laid out.

• Use the right needles for the job. Regular point/universal needles are for cottons and medium weight fabrics. Ball point needles are for fine fabrics such as silks and satins (they push through the fibres instead of cutting through them, so they don’t leave large holes), and for knit fabrics. Denim and leather point needles are for heavy weight fabrics (they have a blade on the edge to cut through the fabric). If your needles are breaking, you probably have the wrong type in.
Also, change your needles regularly, after every big job, or every couple of small jobs. They do get blunt.

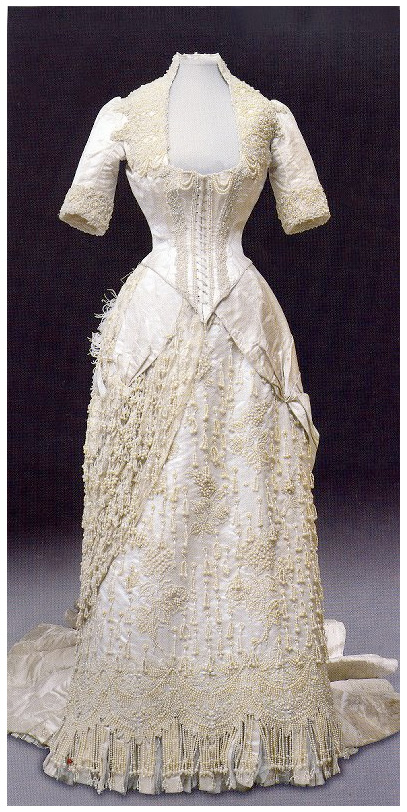
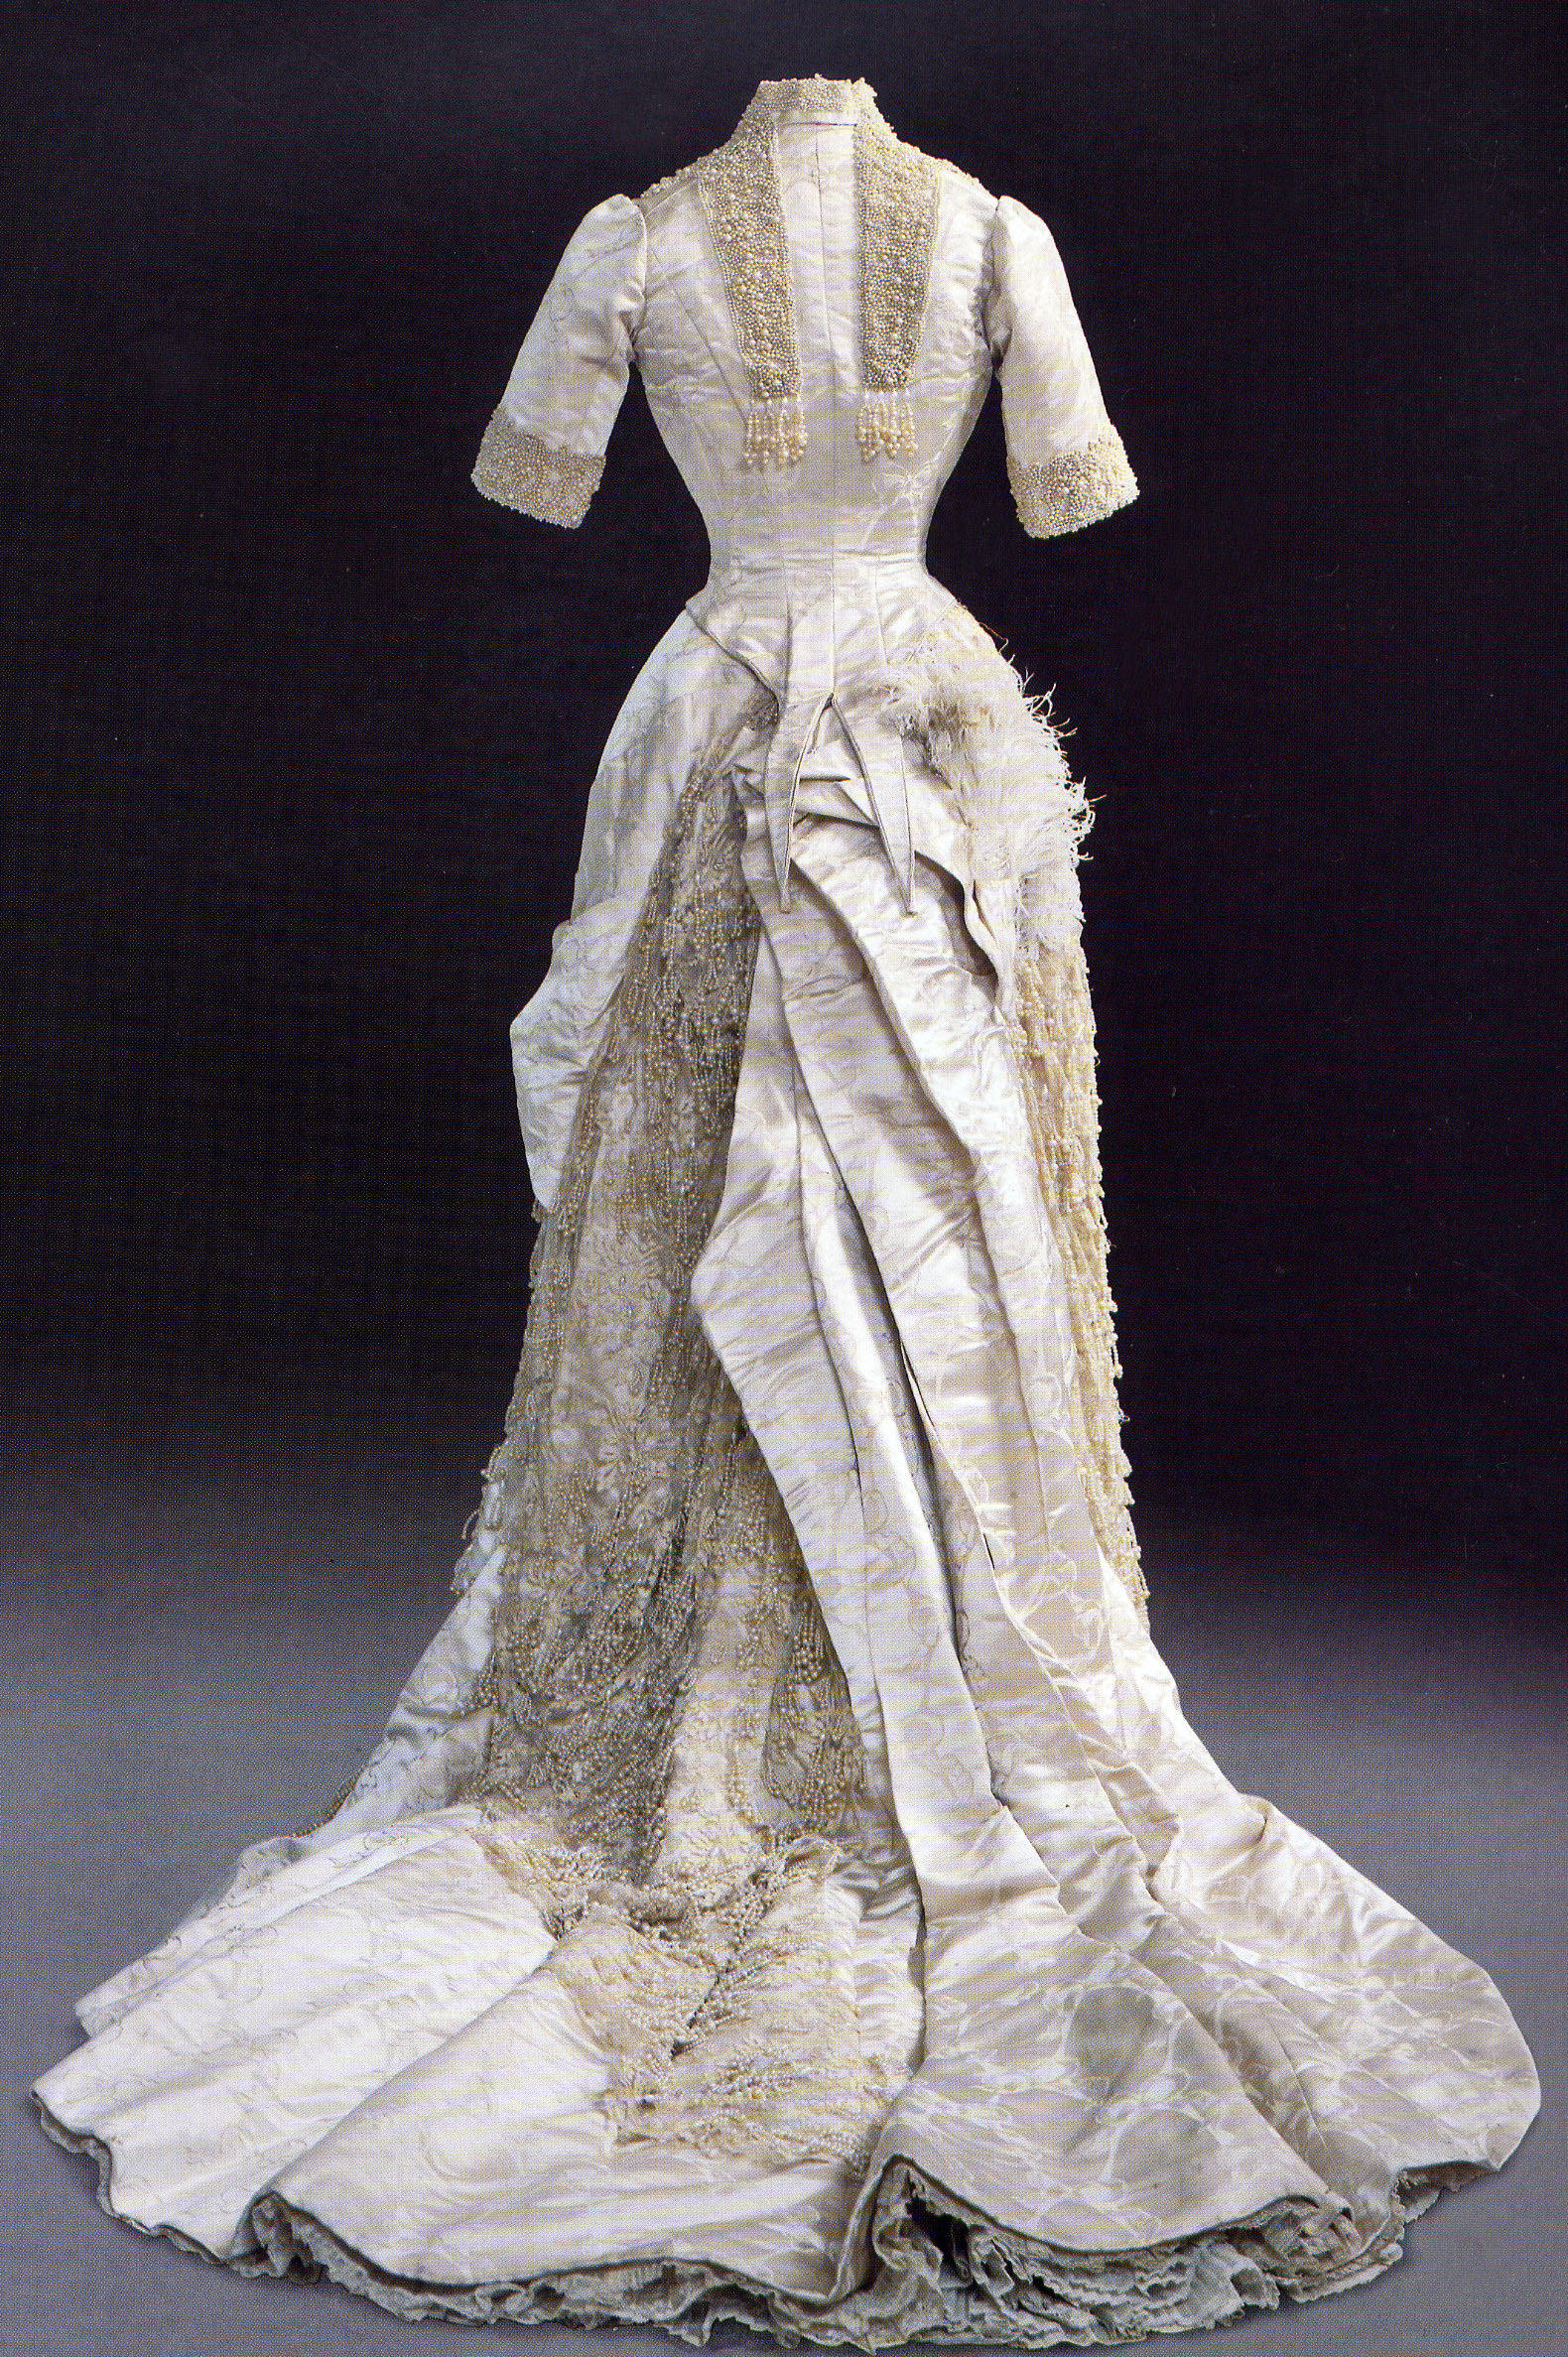
• Scale is the key between something looking like human clothes, or like doll clothes. Always go for a lighter weight fabric than what you would use for human clothes. Bulkier fabrics only tend to work with coats and oversized sweaters. Smaller prints are generally better (unless you’re going for a period look where large prints were in, like the 1850s), in knits a finer gauge stitch is what you’re looking for. Small buttons (though some of the smaller ones can look too plastic and doll like) and eyelets, fine trims, all these things make a difference. Note: if you want to use ribbon for lacing or bows, try to stay under 3mm. Anything larger tends to look out of place.

• Quality of fabrics also makes a difference. Use soft cotton laces, embroidered tulle and delicate venice lace for trims instead of nylon raschel lace. Ebay and Etsy are great sources to find these kinds of trims at a reasonable price. Using cotton instead of polycotton, and silk instead of satin will give a nicer finish.

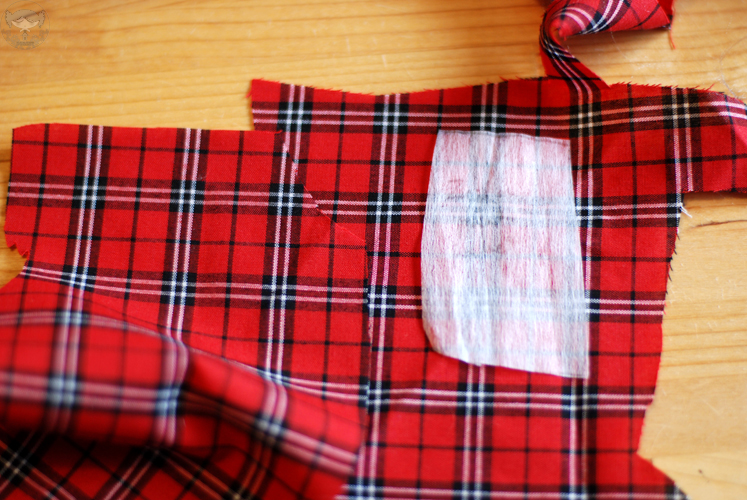
• Your iron is your friend. A lot of handmade doll clothing I see photos of could look a lot better, and sit on the doll better, if they had pressed the garment as they went along. Press your seams, your hems, everything you can. (this of course doesn’t apply to knits) A lot of the time people topstitch something which would have stayed in place had they given it a good pressing.

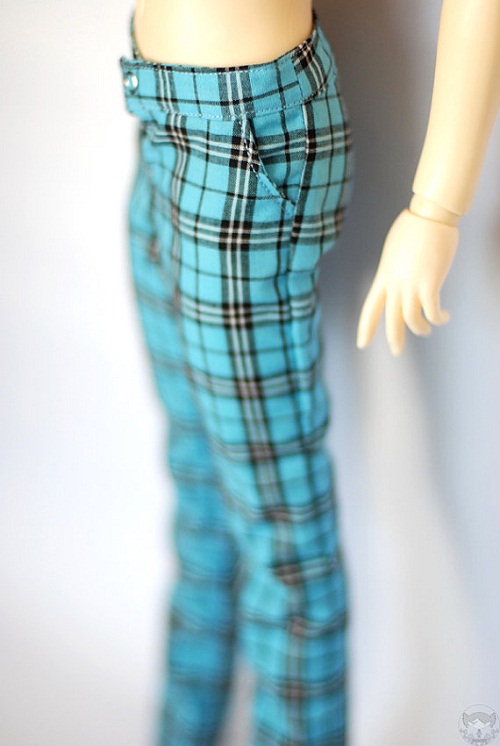
• Study human clothes, see how they are constructed and finished. For example, Jeans actually have the contrast stitching on the inside leg, not on the outside as is commonly seen in doll clothes (the seam is flat felled to increase it’s strength, as it is most likely to wear out); collars on shirts are topstitched, a detail sometimes missed. Hems on coats and jackets are often hand stitched to the lining so that there is no visible stitching, not top stitched.

• My beloved tailoring teacher Bill used to say “a good sewer is a good unpicker”. Used to drive me insane, but he was right. You learn from your mistakes, and if you are careful in your unpicking, you can fix things without people knowing you made the mistake. Pro tip – once you have unpicked something, lightly pull the fabric back and forth where the stitches were. This should move the threads back into place, so the holes aren’t visible.
Btw, for those in Melbourne, Australia, Bill Woodhouse does two courses at CAE – Tailoring and Couture techniques. He is a great teacher and full of wisdom (and wonderful life stories). If you’re looking to learn these techniques, I strongly recommend learning under him.


Pattern Making

• There are many threads on DoA’s sewing forum discussing how to drape patterns on to your doll, using paper towel or fabric to create the pattern. Pattern making uses a lot of maths, and is essentially geometry. If getting your head around numbers is daunting, this might be the best method for you.

• If you really want to get into making your own pattens for dolls, I suggest taking a short pattern making course, or studying patternmaking books (Winifred Aldrich makes a great series called “Metric Pattern Cutting”). Working on humans first is a good way to understand proportions, and then you can transfer those methods and formulas into dolls.

• If that all seems a bit much, get a hold of some good basic patterns to use a base for all your designs, and alter them. A good basic dress pattern can work well as a block/sloper. Once again, Winifred Aldrich’s books are great for explaining how to use your blocks to create a range of garments. Etsy has a good range of bjd pattern makers, otherwise the DOA sewing forum is full of people willing to give advice and reviews on patterns they’ve used (the “what are you currently sewing” thread is very active, helpful and encouraging)


Measuring
• This is my golden rule of measuring bjds – never trust a bjd company’s measurements. They are often wrong, or focusing on measurements you don’t need for sewing. It is always best to measure yourself.

• Take as many measurements as you can. The more you have, the better fit your pattern will be, and there will be less tweaking when fitting it on your doll. The measurements I always take are:
Bust
Waist
Hips (the fullest part of the body, usually around the buttocks)
High Hips (across the tummy, where pants usually sit when people say “on the hips”)
Nape to Waist (nape is the base of the back of your neck)
Waist to Hip (all measurements from the waist downwards are taking on the side, going over the curves of the hip)
Waist to Knee
Waist to Ankle
Waist to Floor
Thigh
Knee
Ankle
Bodyrise (from front waist, down through the legs and up to the back waist)
Bust separation (ie: across the bust from nipple to nipple)
Underbust
Shoulder to bust
Shoulder to underbust
Waist to underbust
Neck
Shoulder (work out where you want your shoulder seam to sit. Measure from the neck to that point on the shoulder)
Across shoulders
Across front (above the bust, from start of the armpit to the other armpit)
Across back (same method as above, but for the back of course)
Arm (always bend your doll’s arm when measuring, going around the bend at the elbow. This ensures that your sleeves will not be too short when you bend their arms)
Shoulder to elbow
Bicep
Wrist
Handspan (measure around the widest part of the hand. This is good for knowing how wide to make your sleeves)

I can make a more detailed post with photos if people are interested, but in the meantime this site might be helpful with images of where to measure: http://www.threadsmagazine.com/item/4610/how-to-measure-up


And most importantly…

Keep trying. You will get better. It can be hard to look at your own work and compare it to the work of others. But use them as inspiration. If they sell clothes that you like, buy them so you can look at them closer, see how they’ve achieved a certain look. Over time you will look back at things you thought were your best work and think “Why did I think that was good? I could do that so much better now.” Keep sewing and you will perfect your techniques. I think it took me about 2-3 years to get my t-shirts to look the way I wished they would, and I’m sure the same thing can be said about clothes I’m learning to make now.

And I think that’s all I wanted to say about that. If there is something I’m not clear about, or something you want to know, by all means ask and I’ll try my best to answer. :)


Saturday, February 25, 2012

Too Many Plans, Not Enough Time

It's been ages since I've posted here! Things got busy the past couple of months, which is great, but I don't have much else time for anything but work. There's a month left until the Melbourne Doll Market so I'm contantly sewing, thinking about sewing, or making lists. If all goes well I should have plenty of stock for the day.

Over the past few months I've been thinking about doing a couple of things - patterns and tutorials. Patterns take a lot of time to make and perfect, so they're awhile off. I need to scan them into my computer and clean them up, photograph the steps and write out clear instructions, and then pass this all on to a few friends to see if what I've done actually works and makes sense! So as you can see, lots of work and time has to be invested into them.

But tutorials don't take as much time. I wouldn't be doing so much pattern based ones, as technique ones - explaining finishing techniques, how to work with certain fabrics, ect. I'm going to write a basic tips one up soon, as it doesn't require photographs, but in the future I'm also planning a tutorial on gathering, how to work with knit fabrics (including a separate tutorial on collars on knit tops), lining a jacket/coat, and how to make a tiered skirt. If anyone has any other things they'd like to learn, let me know and I'll see what I can do. :)

Thursday, January 12, 2012

Unintended Acquisitions

Sorry its been so long since my last post! Xmas and new year's just made Dec fly by - lots of family events the whole month! But now things have slowed down again in that department, whilst work is starting to get busy. I have a wedding dress to finish this month, and preparations for my stall at the Melbourne Doll Market in March have already begun.

Do you ever have a doll that just seems to look good in everything you put on them? I do, and it means her wardrobe just keeps expanding! I guess you could consider this the next part in meeting my dolls. Meet Liulfir, my Elfdoll Vivien on a Dollmore Model Doll body. She is Ophelia's bodyguard, and quite literally towers over most of my crew.


They don't call it a Model doll body for nothing, she looks amazing in everything!


I made this top to sell on Etsy, and once I put it on her, I had to go and make one for her as well. XD


Oh well, I guess I can't complain she doesn't have much to wear!